English
 Español

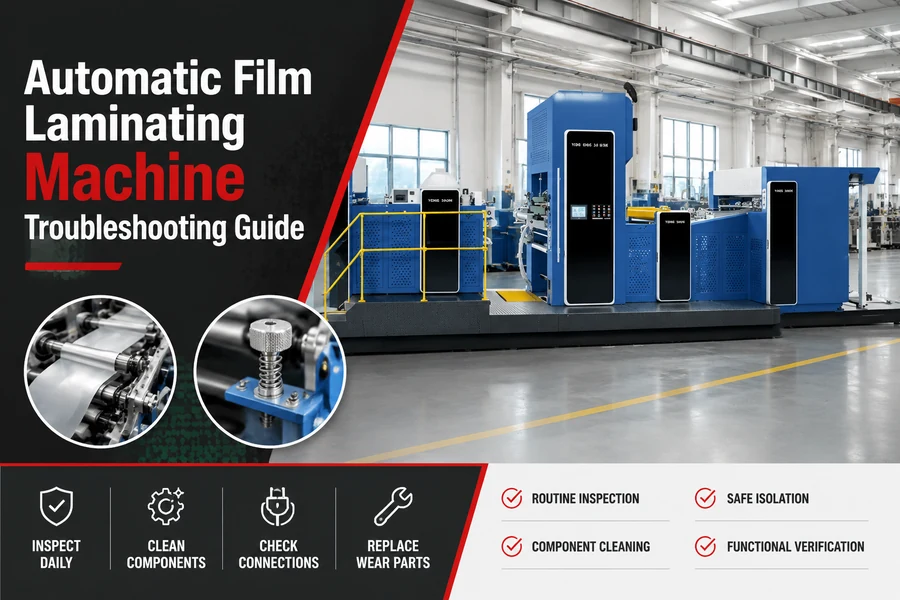
Article Overview: Automatic film laminating machine troubleshooting is a symptom-driven inspection routine, not a parts-replacement decision. This guide helps operators, maintenance teams, and technical buyers isolate edge curl, wrinkles, weak adhesion, and hot-knife tearing by checking heat, pressure, speed, tension, alignment, and surface condition. The conclusion is to change one variable at a time and verify after cooling. Guidance is based on published product capabilities and general lamination process logic; consult the machine manual before live adjustment.
Why does laminated film curl at the edges during automatic lamination?
Edge curl usually develops from uneven contraction after heat, not from the film roll alone. Excessive temperature, uneven nip pressure, or incorrect unwind tension are the first controls to check. Move one control at a time.
Machine-created curl has a pattern. Leading-edge curl is often traced to the feeder or first pull-in rollers. Side-edge curl usually indicates a heat or pressure difference across the roller width. Trailing-edge curl is more likely to come from the delivery section, where a fresh sheet can bend before it cools flat.
- Heat
- The film and adhesive layers shrink as they cool. Extra heat increases the contraction difference between the film side and the paper side, which can pull the edges upward.
- Nip pressure
- When one end of the roller applies higher pressure, that edge receives different mechanical stress, creating a wave or curl on the side.
- Film tension
- The unwind brake should remove slack without stretching the film. Unequal tension across the web width is a recurring source of side-edge curl.
- Delivery
- Side guides and stacker stops can bend fresh laminate before it has cooled and strengthened.
Adjust in one-step increments. Run a small batch, let sheets cool, and compare results. If curl decreases while adhesion remains intact, keep the lower heat setting. Then check pressure balance using blank paper from the same pile; gloss lines and crush marks reveal uneven roller contact.
Before replacing hardware, confirm that the machine specification covers the paper size and film family in production. The automatic film laminating machine category overview and product line is a useful reference for that comparison.
How can I stop wrinkles when laminating pre-coated film on an automatic line?
Wrinkles in pre-coated film usually form before the nip when one edge runs faster or looser than the other. Start with film alignment, then roller pressure balance, then unwind tension; alter one check at a time.
Film wrinkles often start before the film reaches the heated rollers, not inside the nip itself. A folded edge, damaged roll edge, or off-center unwind can make one side of the web longer than the other. When that longer side enters the nip, it forms a cross-direction wrinkle.
- Inspect the film roll and web path for folded edges, slit dust, or surface damage before the unwind brake.
- Center the film roll against the side frame and confirm the edge guide does not push the film too hard.
- Compare left and right unwind tension. A dragging brake on one side produces a loose edge that becomes a wrinkle.
- Check roller parallelism and pressure balance only after the first three checks pass.
The automatic feeder also matters. If paper or board enters crooked, the lead edge creates a baggy side in the film. Run one sheet at low speed and watch where paper and film meet just before the nip. If the two edges are not parallel, correct the feeder side guide before changing temperature.
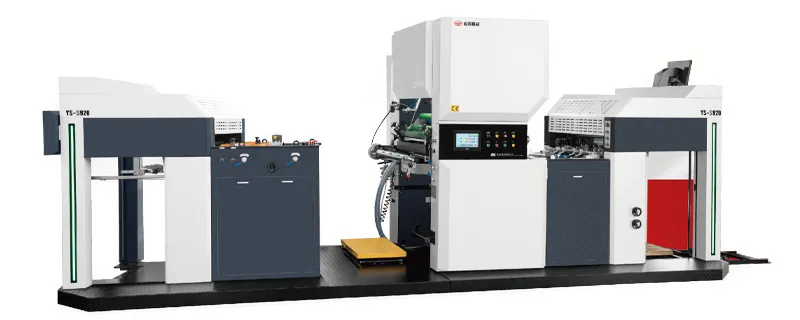
When wrinkles appear mainly at normal running speed, try a slower acceleration ramp instead of only a lower speed setpoint. Many modern lines store speed and tension parameters separately; the high-speed intelligent film laminating machine is one example of that control layout. The diagnostic order remains the same once you know where each parameter is displayed.
What causes weak adhesion on printed packaging boards after automatic film lamination?
Weak adhesion on printed packaging board generally means the adhesive did not flow enough. That usually traces to low nip heat, low pressure, short dwell time, or contamination blocking contact. Verify the board surface and machine settings in that order.
The first clue is what the failure looks like after cooling. If a peel test lifts cleanly, the film never bonded to the substrate. In practice, the common causes are nip temperature lower than the film needs, line speed too high for the adhesive to wet out, or an unseen layer of powder, dust, or dried coating on the board.
Use a controlled sample to separate board contamination from process heat. Run the same film on an unprinted sheet from the same board batch. If the blank sheet bonds and the printed sheet fails, the difference is almost always on the board surface rather than in the laminator. Cleaning the feed area and checking anti-set-off powder can resolve that condition without changing the film.
Speed controls how long film and board remain under heat and pressure. Reducing line speed gives the adhesive more time to flow, but monitor downstream heat. Also inspect nip rollers for dried adhesive, paper dust, or cover damage; contamination reduces contact uniformity even at correct temperature settings.
Should I adjust the hot knife when film tears occur on the cutting station?
The first check for film tears on an automatic cutting station is mechanical, not thermal. Inspect knife sharpness, blade holder alignment, and anvil wear before adjusting temperature. If the blade is sound, change temperature in small steps, then cutting speed or timing.
A hot knife cuts by heating the film enough to separate cleanly at the score line. If the blade is too cold, it pulls and tears the film. If the blade is too hot, melted film sticks to the blade and leaves residue on the next sheet. A nicked or dull edge tears film even when temperature readings look correct.
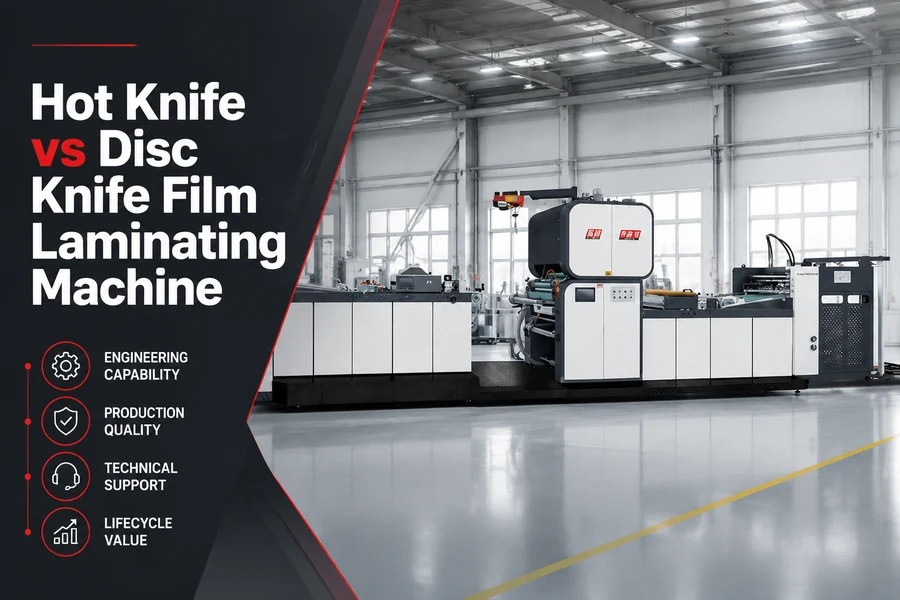
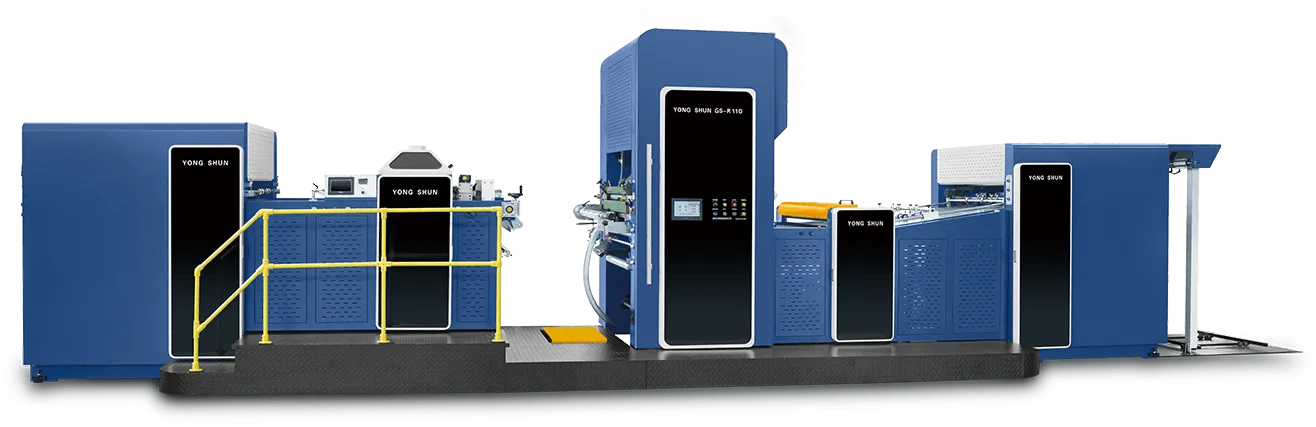
Look at the cut edge. A clean separation with no residual film fibers means the station is working. A jagged edge suggests blade sharpness or anvil condition first. On a machine with a hot-knife unit, separate cutting-station behavior from lamination behavior; the Automatic Film Laminating Machine With Hot Knife is an example of a configuration where this check must occur at the blade.
Cut speed changes contact time between blade, film, and backing. If tearing occurs only at maximum line speed, slow the station first, then test whether temperature must be raised. Make one change at a time and never open the guard while the cutting station is active.
Build an Automatic Film Laminating Machine Troubleshooting Routine
Corrected faults become repeatable only when the fix is documented. Without a consistent routine, operators reset one parameter after another and lose the exact combination that solved the problem.
Step 1: Record the pre-fix state
Write down film roll ID, board type, line speed, temperature, pressure, and tension readings before touching any control.
Step 2: Run a controlled sample
Use the same stock and film family. Change one variable, then run enough sheets to see a stable pattern. Label each sample with the tested condition.
Step 3: Classify the fault source
If the defect repeats at the same position, inspect machine parts or roller alignment. If it moves with the film roll, inspect roll winding and edge quality.
Step 4: Track the result after the fix
Keep corrected settings in the job log. Recheck after warm-up and after a longer production period to confirm the condition does not drift.
Schedule short inspection intervals for roller surfaces, knife condition, unwind brakes, and web path cleanliness. These checks prevent many of the faults described above before they reach finished sheets.
Escalate when the same fault returns after new components, when temperature cannot hold a stable setpoint, or when the defect appears randomly across different film rolls. These symptoms indicate the cause lies outside routine operator adjustment and should be reviewed by the machine builder.
FAQ
Can I judge lamination bond strength immediately after sheets leave the machine?
No. Test after the laminated film and adhesive have cooled to shop temperature. Freshly laminated film can appear bonded because the adhesive is still soft, but a weak bond shows once the material cools and is handled.
Is one test sheet enough to decide that a fault is cleared?
No. Use several consecutive sheets and check the defect location each time. A single good sheet may be a coincidence of roll slack or feeder timing; repeatability is the real sign that the machine setting is stable.
What should I do if the fault disappears when I change the film roll?
Keep the original roll ID for inspection. The issue may be roll winding tension, roll edge damage, or a splice. Run the new roll at the same settings and compare before changing machine parameters.
Conclusion
Most film lamination faults do not begin as mechanical failures. Curl, wrinkles, weak adhesion, and knife tears usually result from an unstable combination of heat, pressure, speed, tension, and surface condition. By changing one variable at a time, recording the state, and testing after cooling, an operator can reach a reliable fix without unnecessary downtime. If the symptom persists through that structured sequence, escalate to the manufacturer with the recorded data.